CapCut offers a diverse range of filters that allow users to add unique visual effects to their videos, enhancing the overall cinematic experience. Before delving into the process of removing filters, let’s take a closer look at the types of filters available in CapCut and their impact on your video content.
1. Beauty Filters: These filters are designed to enhance facial features, smooth skin tones, and provide an overall polished look. They are commonly used in beauty and makeup-related content.
2. Color Grading Filters: CapCut provides a variety of color grading options, allowing users to adjust the color balance, saturation, and contrast of their videos. This category includes filters to create warm, cool, vintage, or black-and-white aesthetics.
3. Special Effects Filters: For users looking to add a touch of creativity to their videos, CapCut offers special effects filters. These may include glitch effects, light leaks, and animations that can transform the visual style of your content.
4. Vintage Filters: Capture a nostalgic feel with vintage filters that mimic the look of classic film stocks. These filters add a timeless quality to your videos, perfect for retro-themed content.
It’s important to note that while filters can significantly enhance your videos, there might be instances where you want to remove them for a more natural or specific aesthetic. Now, let’s explore the step-by-step guide on how to remove these filters within the CapCut application.
Step-by-Step Guide to Remove Filters
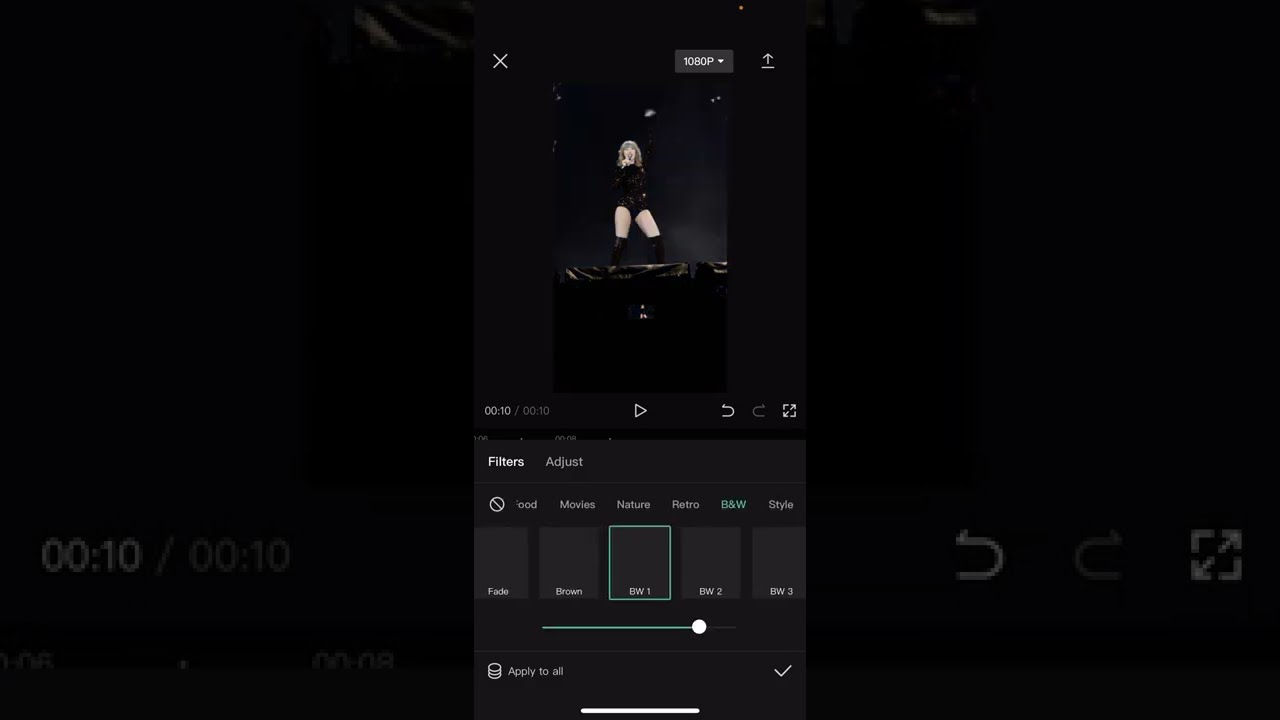
- Accessing the Edit Menu: Open your video project in CapCut and navigate to the Edit menu, typically located at the bottom of the screen.
- Locating Applied Filters: In the Edit menu, look for the section that displays the applied filters on your video. This may be represented by thumbnail icons or a list of filter names.
- Removing Filters Individually: Select the specific filter you want to remove and follow the on-screen prompts to delete it from your video.
- Batch Removal: For efficiency, CapCut allows users to remove multiple filters at once. Choose the batch removal option and confirm your selection to revert to the original state.
By understanding the diverse range of filters CapCut offers and how to manipulate them, users gain greater control over the visual aesthetics of their videos. In the next section, we’ll address common troubleshooting issues related to filter removal and provide solutions for a seamless editing experience.
Step-by-Step Guide to Remove Filters
Removing filters in CapCut is a straightforward process, ensuring that you have the flexibility to refine your video content. Whether you want to revert to the original state or try different filters, follow this comprehensive step-by-step guide:
- Accessing the Edit Menu: Open your CapCut project and navigate to the Edit menu. Look for the pencil or edit icon, usually located at the bottom of the screen. This menu is where you can make various adjustments to your video.
- Locating Applied Filters: Once in the Edit menu, search for the section that displays the filters applied to your video. This section may show thumbnail icons or a list of filter names. It’s essential to identify the filters you wish to remove.
- Removing Filters Individually: Select the specific filter you want to remove. CapCut typically provides options like “Delete” or “Remove” next to each applied filter. Click on the respective option, and the filter will be removed from your video.
- Batch Removal: For users with multiple filters applied, CapCut offers a convenient batch removal feature. Look for the option to remove filters in bulk. This may involve selecting multiple filters simultaneously and confirming the removal. This streamlined process is particularly useful when you want to start fresh with your video.
CapCut‘s user-friendly interface ensures that even beginners can navigate these steps effortlessly. By providing options for both individual and batch removal, the application caters to a range of user preferences and editing scenarios.
It’s important to note that as you remove filters, you may notice changes in your video’s visual dynamics. Always preview the video after filter removal to ensure it aligns with your creative vision.
Troubleshooting
While CapCut‘s filter removal process is generally smooth, users may encounter occasional challenges. Here are some common troubleshooting tips:
- Filter Not Removing: If a filter doesn’t seem to remove as expected, double-check that you are following the correct steps. Ensure you are within the Edit menu and selecting the appropriate removal option.
- Video Quality Concerns: After removing filters, review your video for any unexpected changes in quality. Adjustments may be needed to maintain the desired visual appeal.
By being aware of potential challenges and following this step-by-step guide, you can navigate CapCut’s filter removal process with confidence, unleashing your creativity in video editing.
Troubleshooting
While CapCut’s filter removal process is generally user-friendly, occasional challenges may arise. Understanding common troubleshooting issues and their solutions ensures a smoother editing experience. Here are some troubleshooting tips to address potential concerns:
- Filter Not Removing: If you find that a filter is not being removed as expected, double-check the process. Ensure you are in the Edit menu and selecting the correct option for filter removal. Sometimes, user oversight or a technical glitch can be the cause.
- Unexpected Video Quality Changes: After removing filters, it’s crucial to review your video for any unexpected alterations in quality. Filters can impact brightness, contrast, or saturation, and their removal might require adjustments. If you notice undesired changes, use CapCut’s editing tools to fine-tune the video settings accordingly.
- Undoing Filter Removal: In some cases, users may inadvertently remove a filter and wish to undo the action. CapCut typically provides an undo option in the Edit menu. Look for an arrow icon or an “Undo” button to reverse the last action and restore the removed filter.
CapCut aims to provide a seamless editing experience, but these troubleshooting tips can help users navigate unexpected challenges. If you encounter issues beyond the scope of these common troubleshooting steps, consider reaching out to CapCut’s support or community forums for further assistance.
FAQ
Explore the frequently asked questions (FAQ) related to filter removal in CapCut to enhance your understanding of the process and address common queries:
| Can I retrieve removed filters? | As of the current CapCut version, there isn’t a built-in feature to retrieve removed filters. It’s advisable to save multiple versions of your project or export a copy before making extensive changes to preserve different editing stages. |
| Do removed filters affect video quality? | Removing filters should not inherently affect video quality. However, if the filters were compensating for certain aspects like brightness or color balance, you may need to manually readjust those settings to maintain the desired quality. |
| Are there new filters to replace the removed ones? | CapCut regularly updates its filter library, introducing new options for users. Check the app’s filter collection or the official website for information on the latest additions that can serve as alternatives to the removed filters. |
These frequently asked questions provide valuable insights into the nuances of filter removal in CapCut. By understanding these aspects, users can make informed decisions during the editing process, ensuring their videos meet the desired visual standards.
Conclusion
Congratulations on mastering the art of removing filters in CapCut! In this guide, we’ve explored the diverse world of CapCut filters, from beauty enhancements to color grading and special effects. The step-by-step guide provided insights into the straightforward process of removing filters, giving you the creative freedom to refine your video content effortlessly.
By understanding the troubleshooting tips, you’re well-equipped to tackle any challenges that may arise during the filter removal process. Remember to preview your videos after filter removal to ensure they align with your creative vision, and utilize CapCut’s editing tools for any necessary adjustments.
The FAQ section addressed common queries, offering solutions to concerns about retrieving removed filters, preserving video quality, and exploring new filter options. Stay informed about CapCut’s filter library updates for exciting alternatives to enhance your video editing experience.
As you continue your journey with CapCut, experiment with different filters, explore new features, and unleash your creativity. Video editing is not just a skill; it’s an art form, and CapCut empowers you to express your unique vision through your content. Cheers to your future editing endeavors!